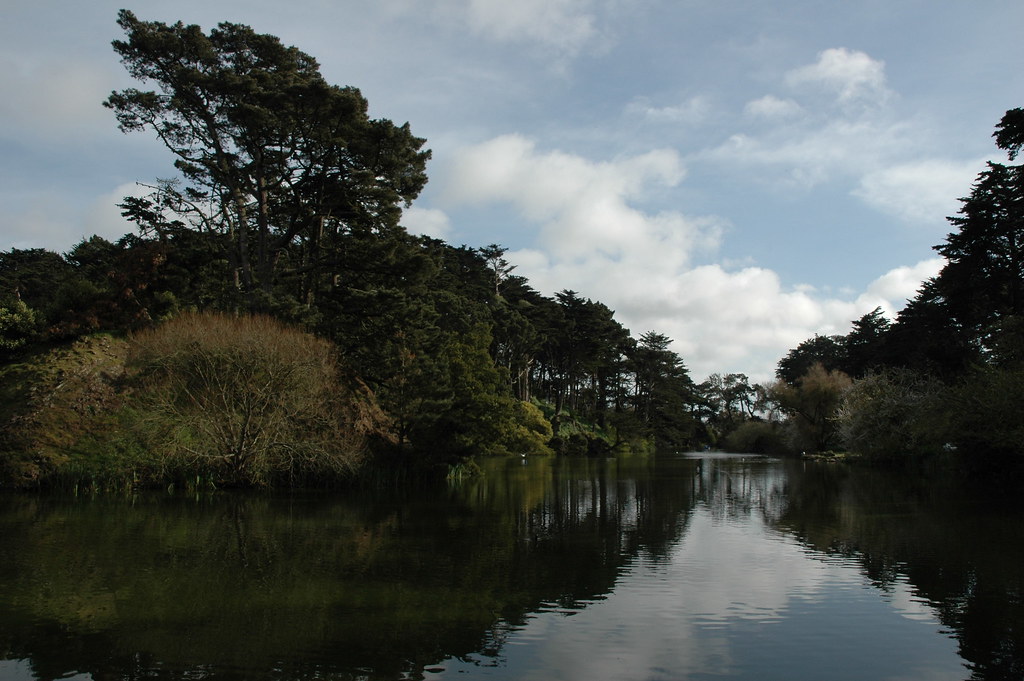
先感谢@_@的摘录,我在其摘录的基础上对此技法做了简化和改进,使之更加灵活简单,并结合自己的图做了以下尝试。
参考图,为了保护highlight, 牺牲了shadow.
用了以下描述的方法,改善了shadow. 如将相机放在脚架上用bracket的方法连续照两张,则会更理想。此法比HDR强的地方是不用全图取平均值,因此会更有效的保护细节。
步骤基于PS CS2
1) "Ctrl+j " to make a new layer:
You will see “Layer 1" on top of “Background” layer in the layer palate. Layer 1 is highlighted in the layer palate that means now you are at layer 1.
2) "Ctrl+Alt+~" or “Ctrl+Alt+1/2/3" to select the highlight area. “Ctrl+Alt+~” to select less, “Ctrl+Alt+3" to select more. You will see the selection after you do the “"Ctrl+Alt+~/1/2/3"
3) Go to the layer palate, hold down the “Alt” key and click “Add layer mask” icon which is a white circle inside a grey square. You will see the layer mask thumbnail showing up at the right side of Layer 1 thumbnail in the layer palate.
4) Click “Layer 1" thumbnail at the left side of the layer mask thumbnail in the layer palate, you will see the white highlight surrounding the thumbnail moving to the left that means you are at Layer 1 instead of the layer mask of Layer 1. Then hold down the “Alt” key and click “Create new fill or adjustment layer” icon which is half white half black circle to select “Curves”. As a consequence, you will see a pop up window showing up. Check the box of “Use Previous Layer to Create Clipping Mask” in the pop up window. Finally you can tune the curve as what it is desired.

